
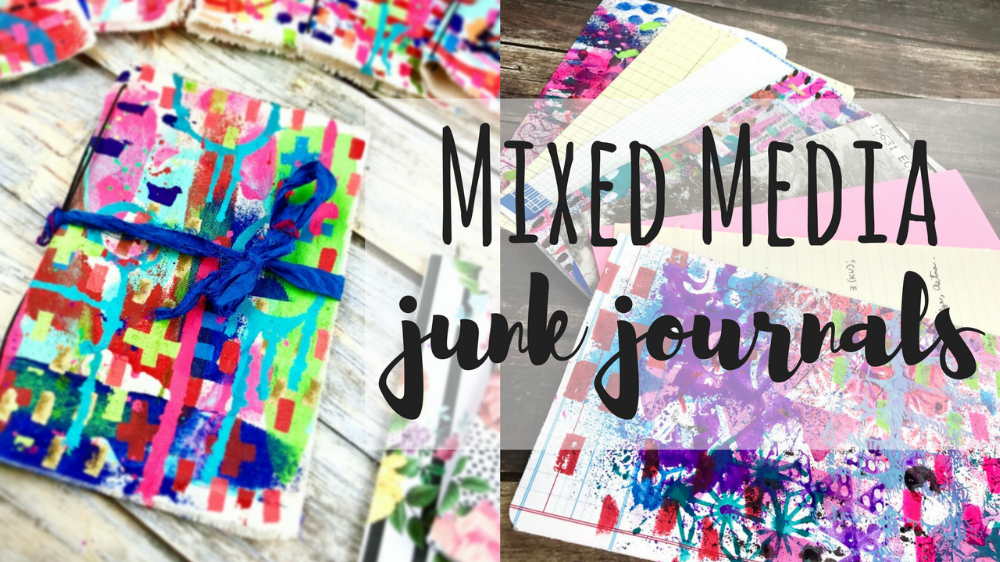
How to Make a Mixed Media Journal
Hello crafty friends! I've been making these mixed media journals (aka traveller's notebooks) for a while now and I thought I'd share with you how easy it can be to make one of your own! I love these because they combine my love of planning/organizing with my love of art journaling!
The cover is easy to customize to your liking and very durable for travel. You can add as many notebooks/journals inside as you like. They are also a perfect fit for traveller's notebook inserts, Moleskine cahier notebooks, or you can make your own! (For the tutorial on how to make your own notebook inserts, go HERE. You can also visit the shop where I've got some ready-made for you!)

Now on to the tutorial! You're gonna need a few basic supplies. Most you will find in your local art or craft store, online, or you can substitute for what you have in your stash at home!
MATERIALS
- 9"x12" piece of canvas fabric (this will make a 6"x9" cover)
- Gesso
- Acrylic paint (I've used DecoArt acrylic paints in various colors)
- Foam brush or paint brush
- Stencils & Stamps
- Paint pens
- 1 yard of round elastic cord
- 1 yard of silk sari ribbon (or any ribbon)
- Self-healing cutting mat (to protect your work surface)
- Awl
- Ruler
- Scissors
- Palette knife or old gift card

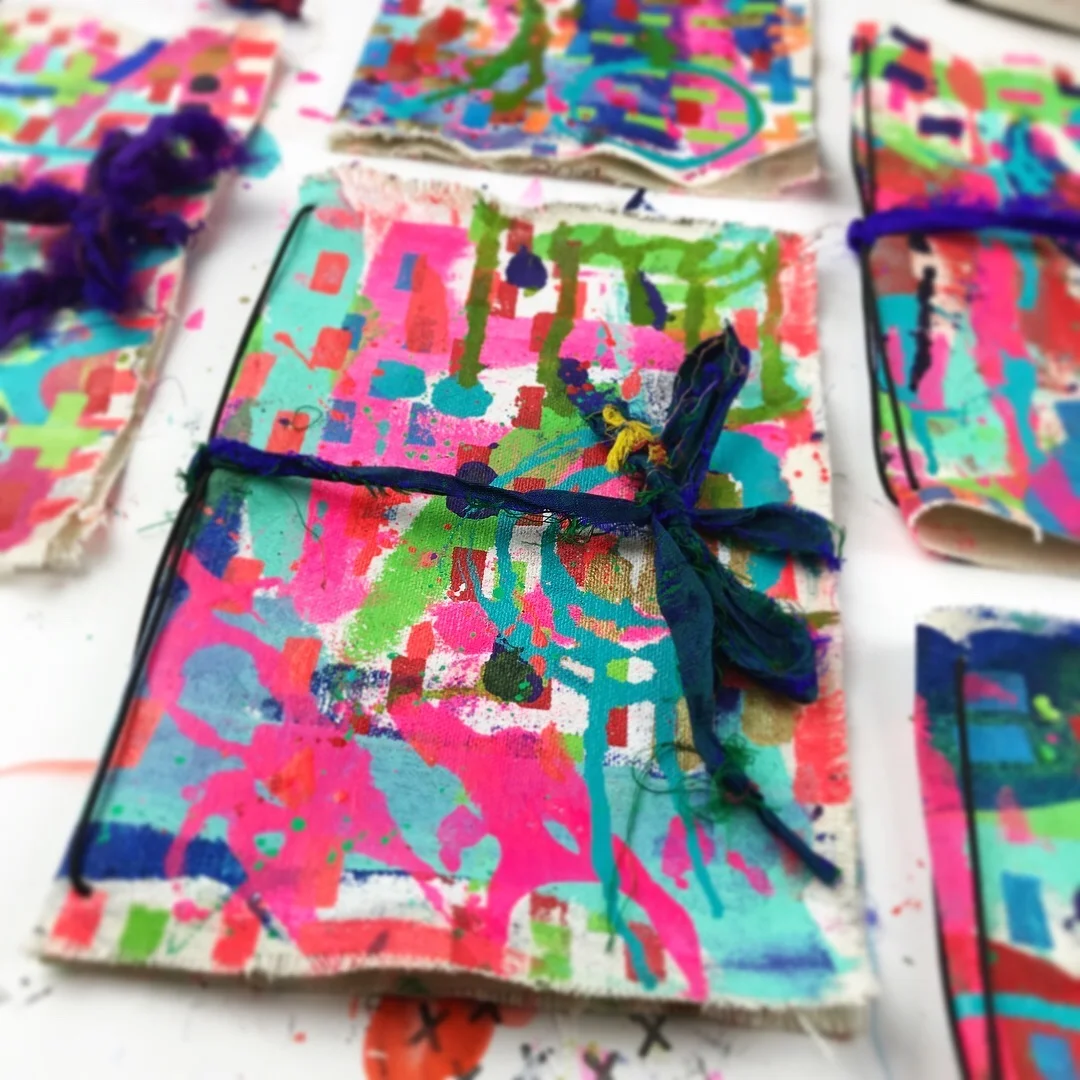
First, add a quick layer of gesso to the front side of your canvas fabric with an old gift card or palette knife. When dry, add paint in random sections all over the canvas.

I like to squeeze the bottles of paint directly onto the surface and scrape with the palette knife OR you can sandwich the two halves of the canvas fabric together and get a kind of Rorschach-like print! Be careful not to mix opposite colors together. If you'd like to use opposite colors, wait until each color is dry before adding the next.

Then, when the paint is dry, and you have covered the canvas with an amount of paint that suits you, add marks with paint pens. I like using the large, 15mm sized pens. Alternately, you could also just use various sized sponge brushes or paint brushes to get a similar effect. The idea is just to add some contrast to the scrapes of paint. Try adding opposite colors with the pens over the painted areas.

You can also add splatters and drips. This can be done with the paint pens or watered down paint and a brush. At some point, you can also use stencils to add layers of images and/or text.

I like to build up images and text sometimes as it's own layer. Other times, I'll use text last as the focal image.

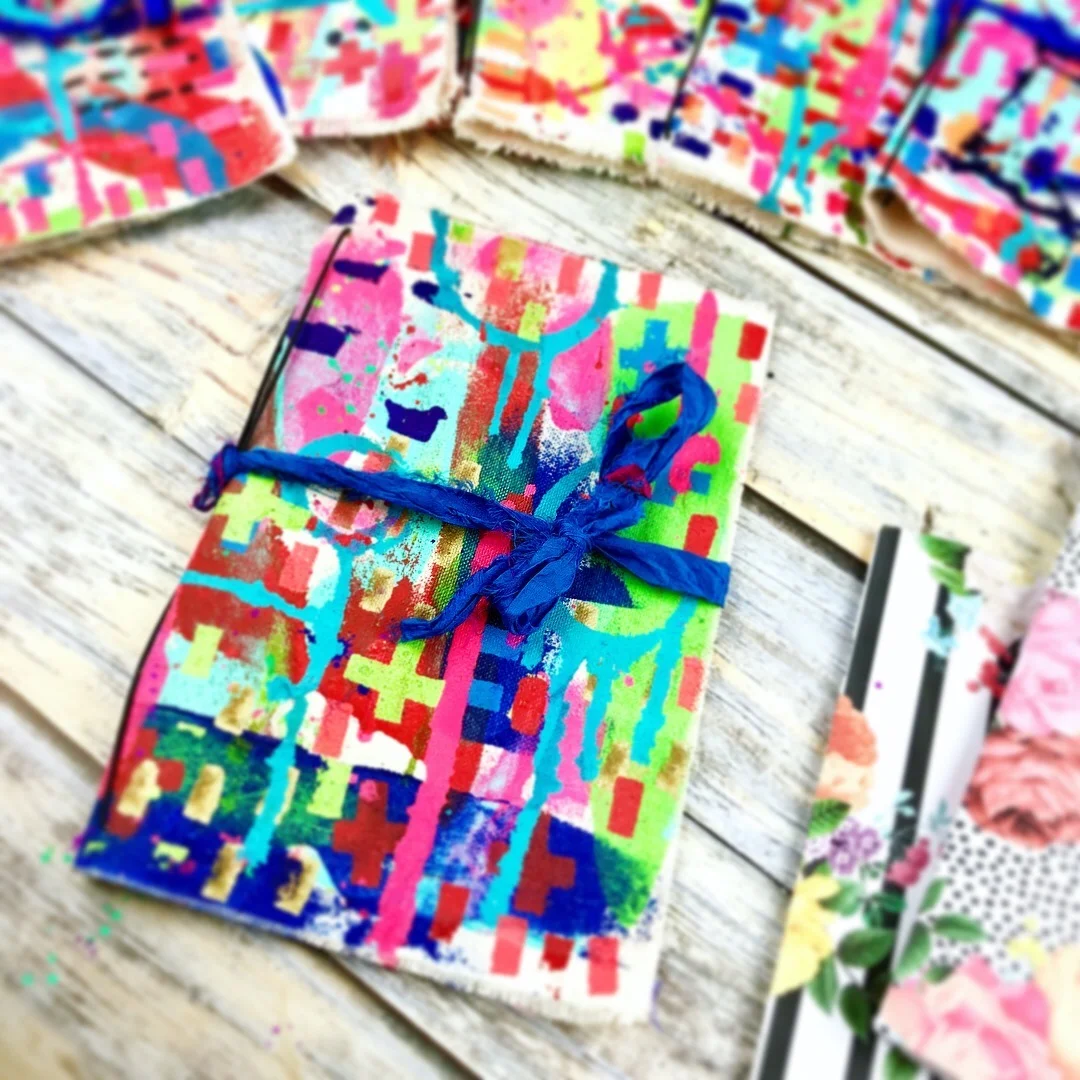
Once you're happy with the amount and variety of marks and layers, you can add your elastic bands (this is what will hold the journal or notebooks on the inside) and choose the color of ribbon to use as the closure for the journal cover.

I like to use recycled sari ribbon, which is just beautiful, quirky and bold! But you can use any type of ribbon that you like. I like to choose a color that will contrast with the overall cover colors. You can decide if you want the ribbon to contrast or not.

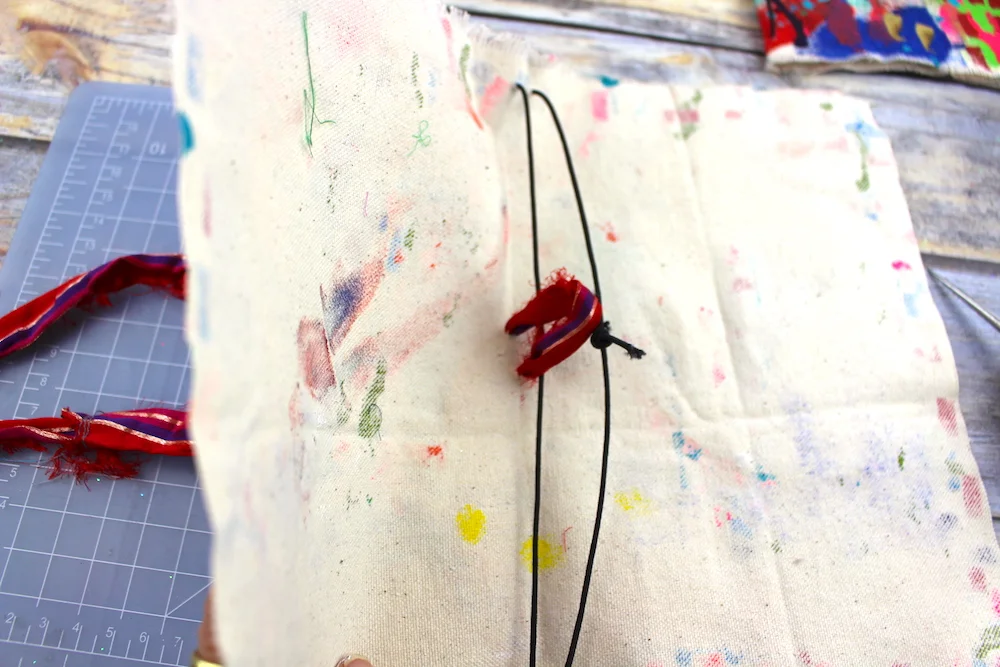
To attach the elastic cords, open up your canvas cover and lay it flat over a self-healing mat. With your awl, poke two holes about 1/4" down from the top on either side of the fold, and about 1/4" apart. Repeat this on the bottom edge of the cover as well so that you have four (4) holes total. This will be enough to hold two notebooks. You may also punch a third set of holes along the spine to add a third elastic band.

Cut 18" of elastic cord and thread each end through the matching holes at the top and bottom of the journal cover. Make sure to thread from the outside going in. Hold the two ends together and tie in an overhand knot. Pull to secure the knot.

To add the ribbon closure, poke two large holes (you will need to push your awl a little bit deeper to create a larger hole) about half way down the spine, and about 1/2" apart. Thread the two ends of the ribbon through the holes from the inside of the cover to the outside.
Pull the ribbon ends evenly through the holes so that they are the same length coming out of the spine.

Tie the ribbon in a knot around the elastic bands on the outside of the spine. To close the cover, just tie the ribbon in a bow at the edge or the front of the journal.

Insert a notebook through the elastic cord so that it rests in the middle of the notebook. And there you have it! Your very own DIY mixed media journal cover or traveler's notebook!

You can easily adjust the size of the cover to fit any size insert or journal. I hope you've enjoyed this mixed media journal cover tutorial and that you are inspired to make your own!

You can also check out the video tutorial HERE!