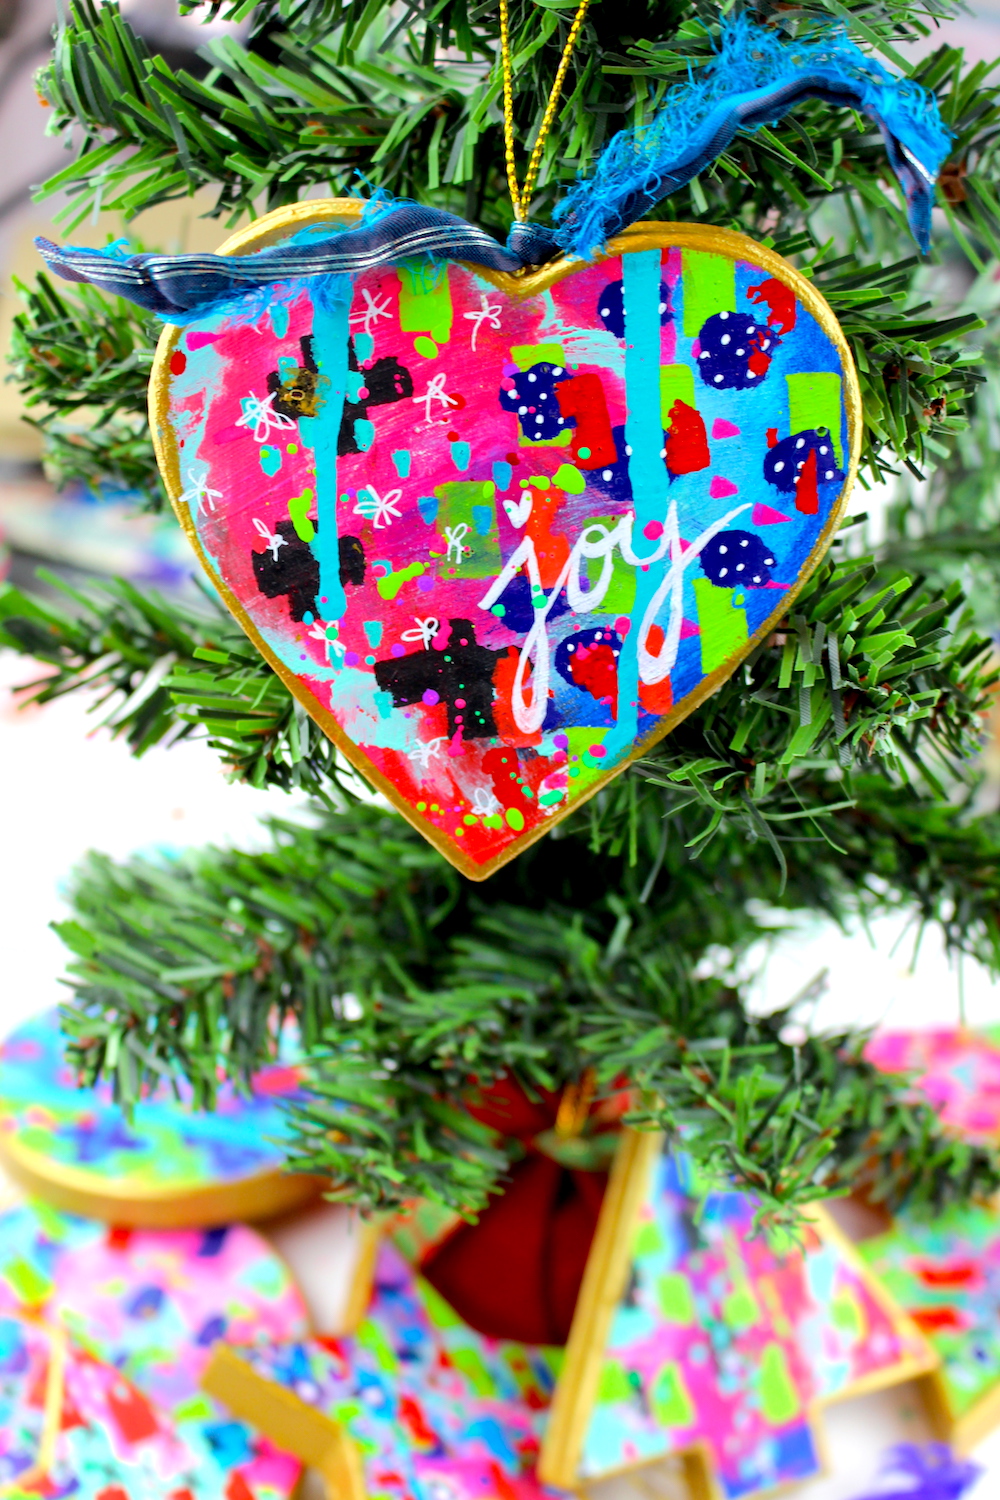
DIY Mixed Media Ornaments
Looking for a unique way to add a POP of color to your holidays this year? Here is a quick and easy tutorial for making beautiful, bright, DIY ornaments!
To get started, you'll need a few simple supplies:
- Paper mache ornaments (I got mine HERE)
- Acrylic paint in your favorite colors (I used DecoArt Media paints)
- Paint pens
- Sponge brush
- Gesso
- Recycled sari ribbon (or any ribbon of your choice!)
First, gesso your ornaments on the front, back and sides. You just need a light coat, enough so that you have a bright, white surface to start on. This will allow your colors to show up brighter than if you just painted straight onto the ornaments.
Next, using your fingers or a medium sized brush, apply your paint in splotches and patches, being careful not to mix opposite colors.
Once that dries, you'll add a darker color over the top as a kind of "glaze." I've used a dark blue that is semi-transparent so you can still see through it to the colors below. Spread the paint over the entire surface of the ornament and then quickly wipe away the center with a baby wipe, leaving the dark blue on the outer edges. This gives it a bit of a shaded look and also lets the center colors pop out more.
Add designs with paint pens or with acrylic paint and a brush. Vary the colors and designs so that they are a little different than the first layer of color on the ornaments. It's nice to play with opposites and let warm and cool colors contrast (like the red marks against the aqua background).
Then, paint the edges with gold metallic paint. You can also paint the top edges to give it a foil frame look.
Then, add splatters, stamps, and more marks with paint. You can also use a paint pen or detail brush to write words or phrases or add intricate designs. If the splatters go over the edges of the gold, you can just paint them in again OR paint the gold edges last.
Paint the backs of the ornaments gold (you may need two coats).
And finish with a beautiful, silk sari ribbon!
These DIY ornaments are now ready to hang on your tree, use as gift tags or dinner table place holders OR to give as gifts!
Wouldn't they also look lovely hanging on the wall in the shape of a tree? You can really have a lot of fun with these! They would be a great kids craft, as well!
I hope you enjoyed this tutorial on how to make your own mixed media ornaments! They make great gifts for you or a loved one. Short on time? No problem! I've got some already made and ready to wrap here in my SHOP!


